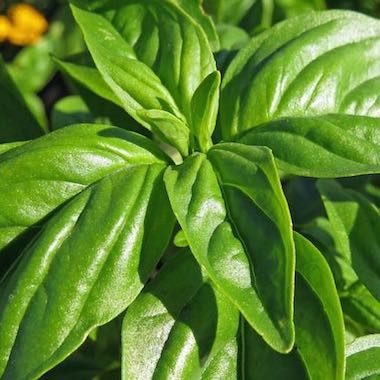
Chitting Seeds
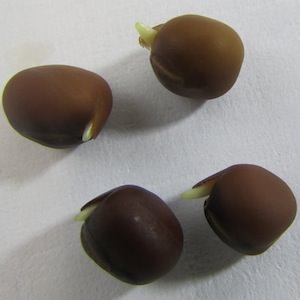
Chitting is a proven method of seed-starting which:
- Delivers maximum seed sprouting efficiency.
- Saves time because you will only plant viable seeds.
- Makes certain you will experience gardening success even when spring has not yet sprung.
Why would you want to chit seeds?
- You are starting a small amount of rare or expensive seed and need to achieve the highest germination rate possible.
- You have a supply of older, likely low germination seed you would love to grow and enjoy one more year.
- Your soil is too cold to direct sow, yet now is the time to plant if your vision of a full season of mouthwatering vegetables, savory herbs, and plentiful flowers is to be seen.
Facts about Chitting
- Also referred to as greensprouting, chitting is a method of starting the seed germination process before the seeds meet the soil.
- The word chit is from 17th Century dialect, meaning shoot or sprout.
- Chitting most commonly refers to potatoes, but the process is easily adapted to just about any type of seed.
- By providing moisture and warmth, chitting gets the first roots to emerge from a seed before planting it.
- When chitting, you can provide near perfect conditions for your seeds to begin the germination process, and eliminate the disappointment of planting unviable seeds.
- Chitting provides an opportunity for children of all ages to witness in close detail the fascinating process of seed germination.
Chitting Methods
Glass Jar Method
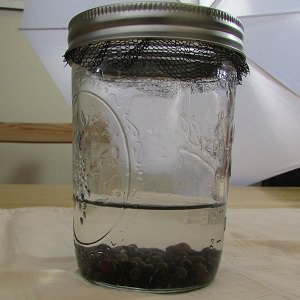
Step 1:
- Place your seeds in a glass jar and cover them generously with warm, not hot, water for 4 to 6 hours or so, but not more than 8 hours.
- Cover the jar with a couple of layers of cheesecloth, or a piece of window screen, and secure with a rubber band (or the lid ring if it is a canning jar).
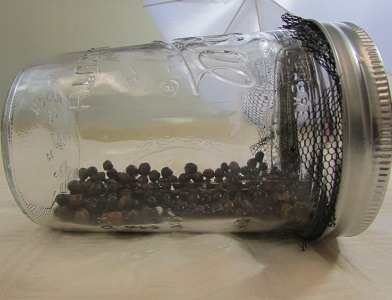
Step 2:
- After soaking, rinse several times with warm water, and drain completely.
- You may notice that the seeds are swelling already at this point. Put the jar on its side in a warm place, (near the sink is convenient) and for the next several days, repeat the rinsing and draining process twice a day.
- If the seeds you are starting require darkness to germinate, cover the jar with a dishtowel or newspaper.

Step 3:
- As soon as the first roots have emerged from the seed coats, carefully plant them directly in the garden or in pots, with the root pointing down whenever possible, not pointing upwards.
- Please note that the root is very delicate, so cover the seeds lightly with moist soil or seedling mix and water gently.
- If you are sowing the seeds outdoors and the weather is cool, don’t water unless the soil is dry.
- You should notice the seed leaves popping up in just a few days.
Paper Towel Method
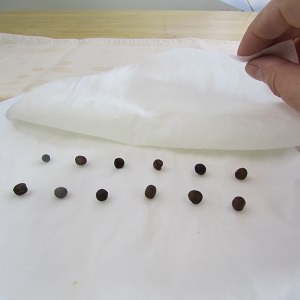
Step 1:
- Fold a paper towel into fourths, dip in warm water, loosely roll up and wring it out gently.
- Unroll and pull up two layers of the paper towel and place seeds inside with space between each seed.
- Fold the two top layers back on top of the seeds and place inside a clear plastic bag.
- Don’t seal the bag; air should be able to flow in and out.
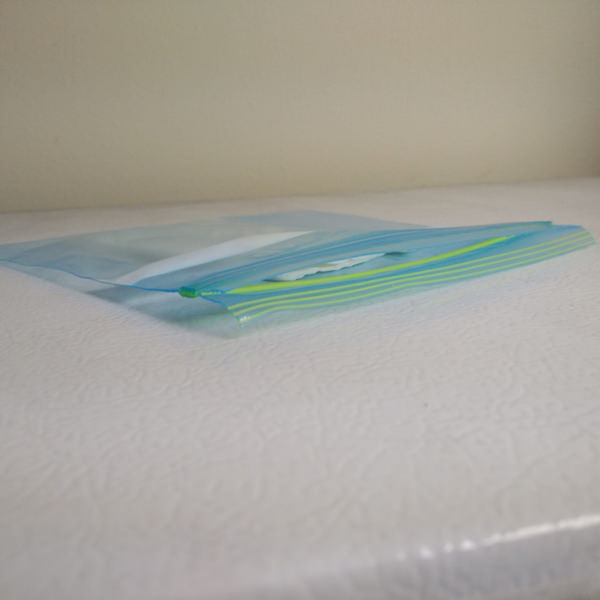
Step 2:
- Place the bag in a warm location (on top of the refrigerator is good, or on a heat mat if you have one)
- Check twice per day. If the paper towel seems dry, mist with a spray bottle filled with lukewarm water.
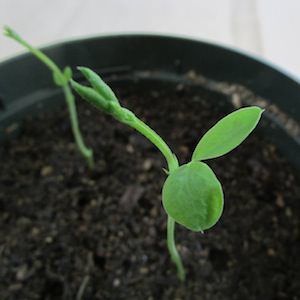
Step 3:
- As soon as the first roots have emerged from the seed coats, carefully plant them directly in the garden or in pots, with the root pointing down whenever possible, not pointing upwards.
- Please note that the root is very delicate, so cover the seeds lightly with moist soil or seedling mix and water gently.
- If you are sowing the seeds outdoors and the weather is cool, don’t water unless the soil is dry.
- You should notice the seed leaves popping up in just a few days.
Written by Mary.


